Cyanotype on Marble
In my Experimental Photography class, our final project was to create a cyanotype on any type of material we would like. For my project, I decided to further my exploration into the world of cyanotypes by experimenting with transferring cyanotypes onto pieces of marble slabs.
When conducting my initial research, I discovered this process would involve a bunch of testing. I could only find evidence of one other person trying this method in cyanotyping. The individual I found had left little to no information or notes on her process for people to view. The only thing I found was that this Artist wrote one singular tip in the comments and that was that "the process worked best when I would expose the slab immediately after the emulsion dried", and with that one bit of information I started to try and figure it out for myself.

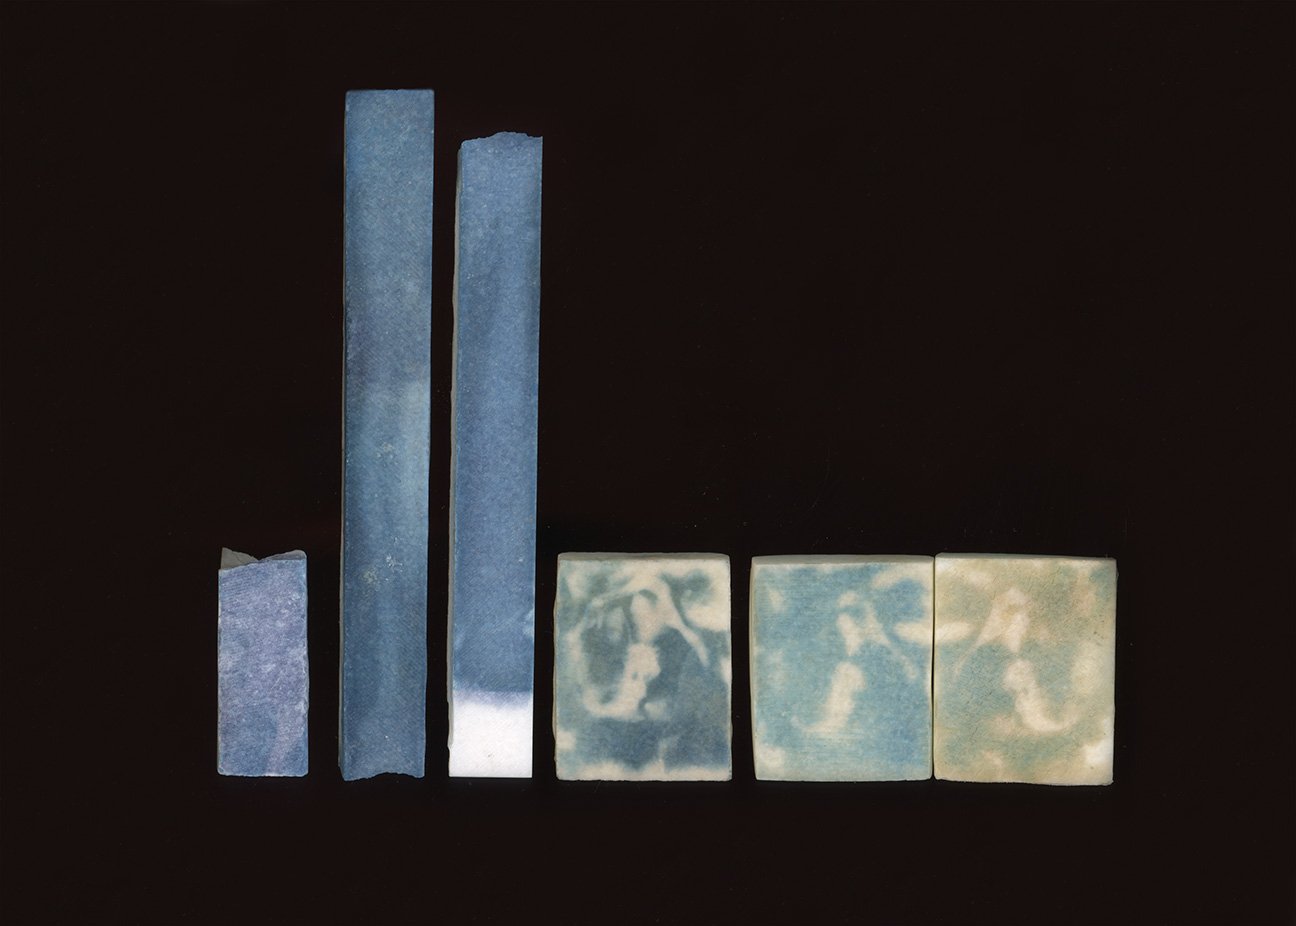
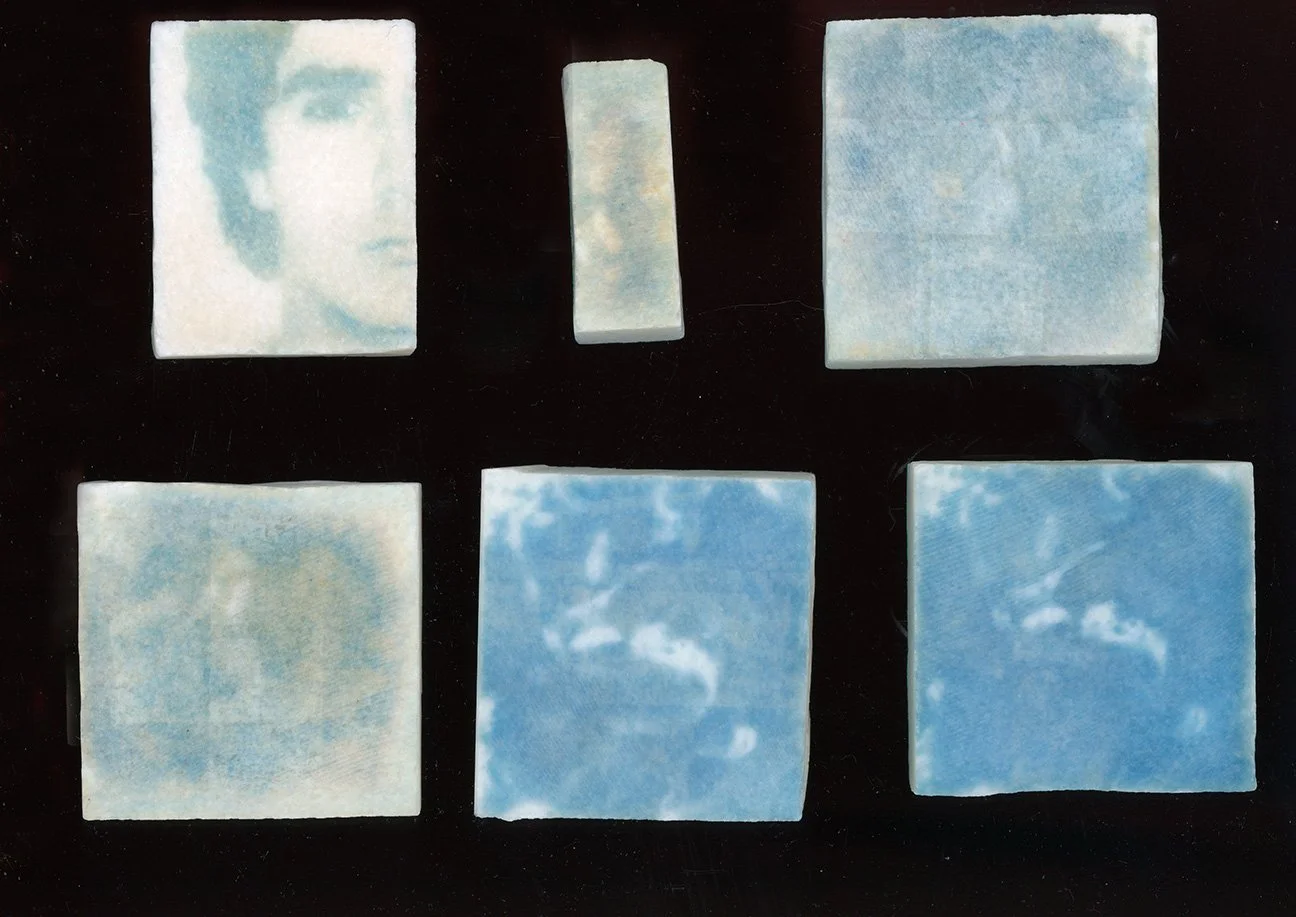
The piece of marble I used started off as one large slab, sized at about 12 " x 24" @ 3/8 thick. I cut the slab of marble up into 14 different pieces. This was important so that all test strips could read/transfer as accurately as possible to one another. In total I experimented with about 11 test strips and each time it revealed that the marble may not always stain consistently and that there may be properties within the stone that can't physically be seen at the moment that could affect the desired outcome.

Process Notes
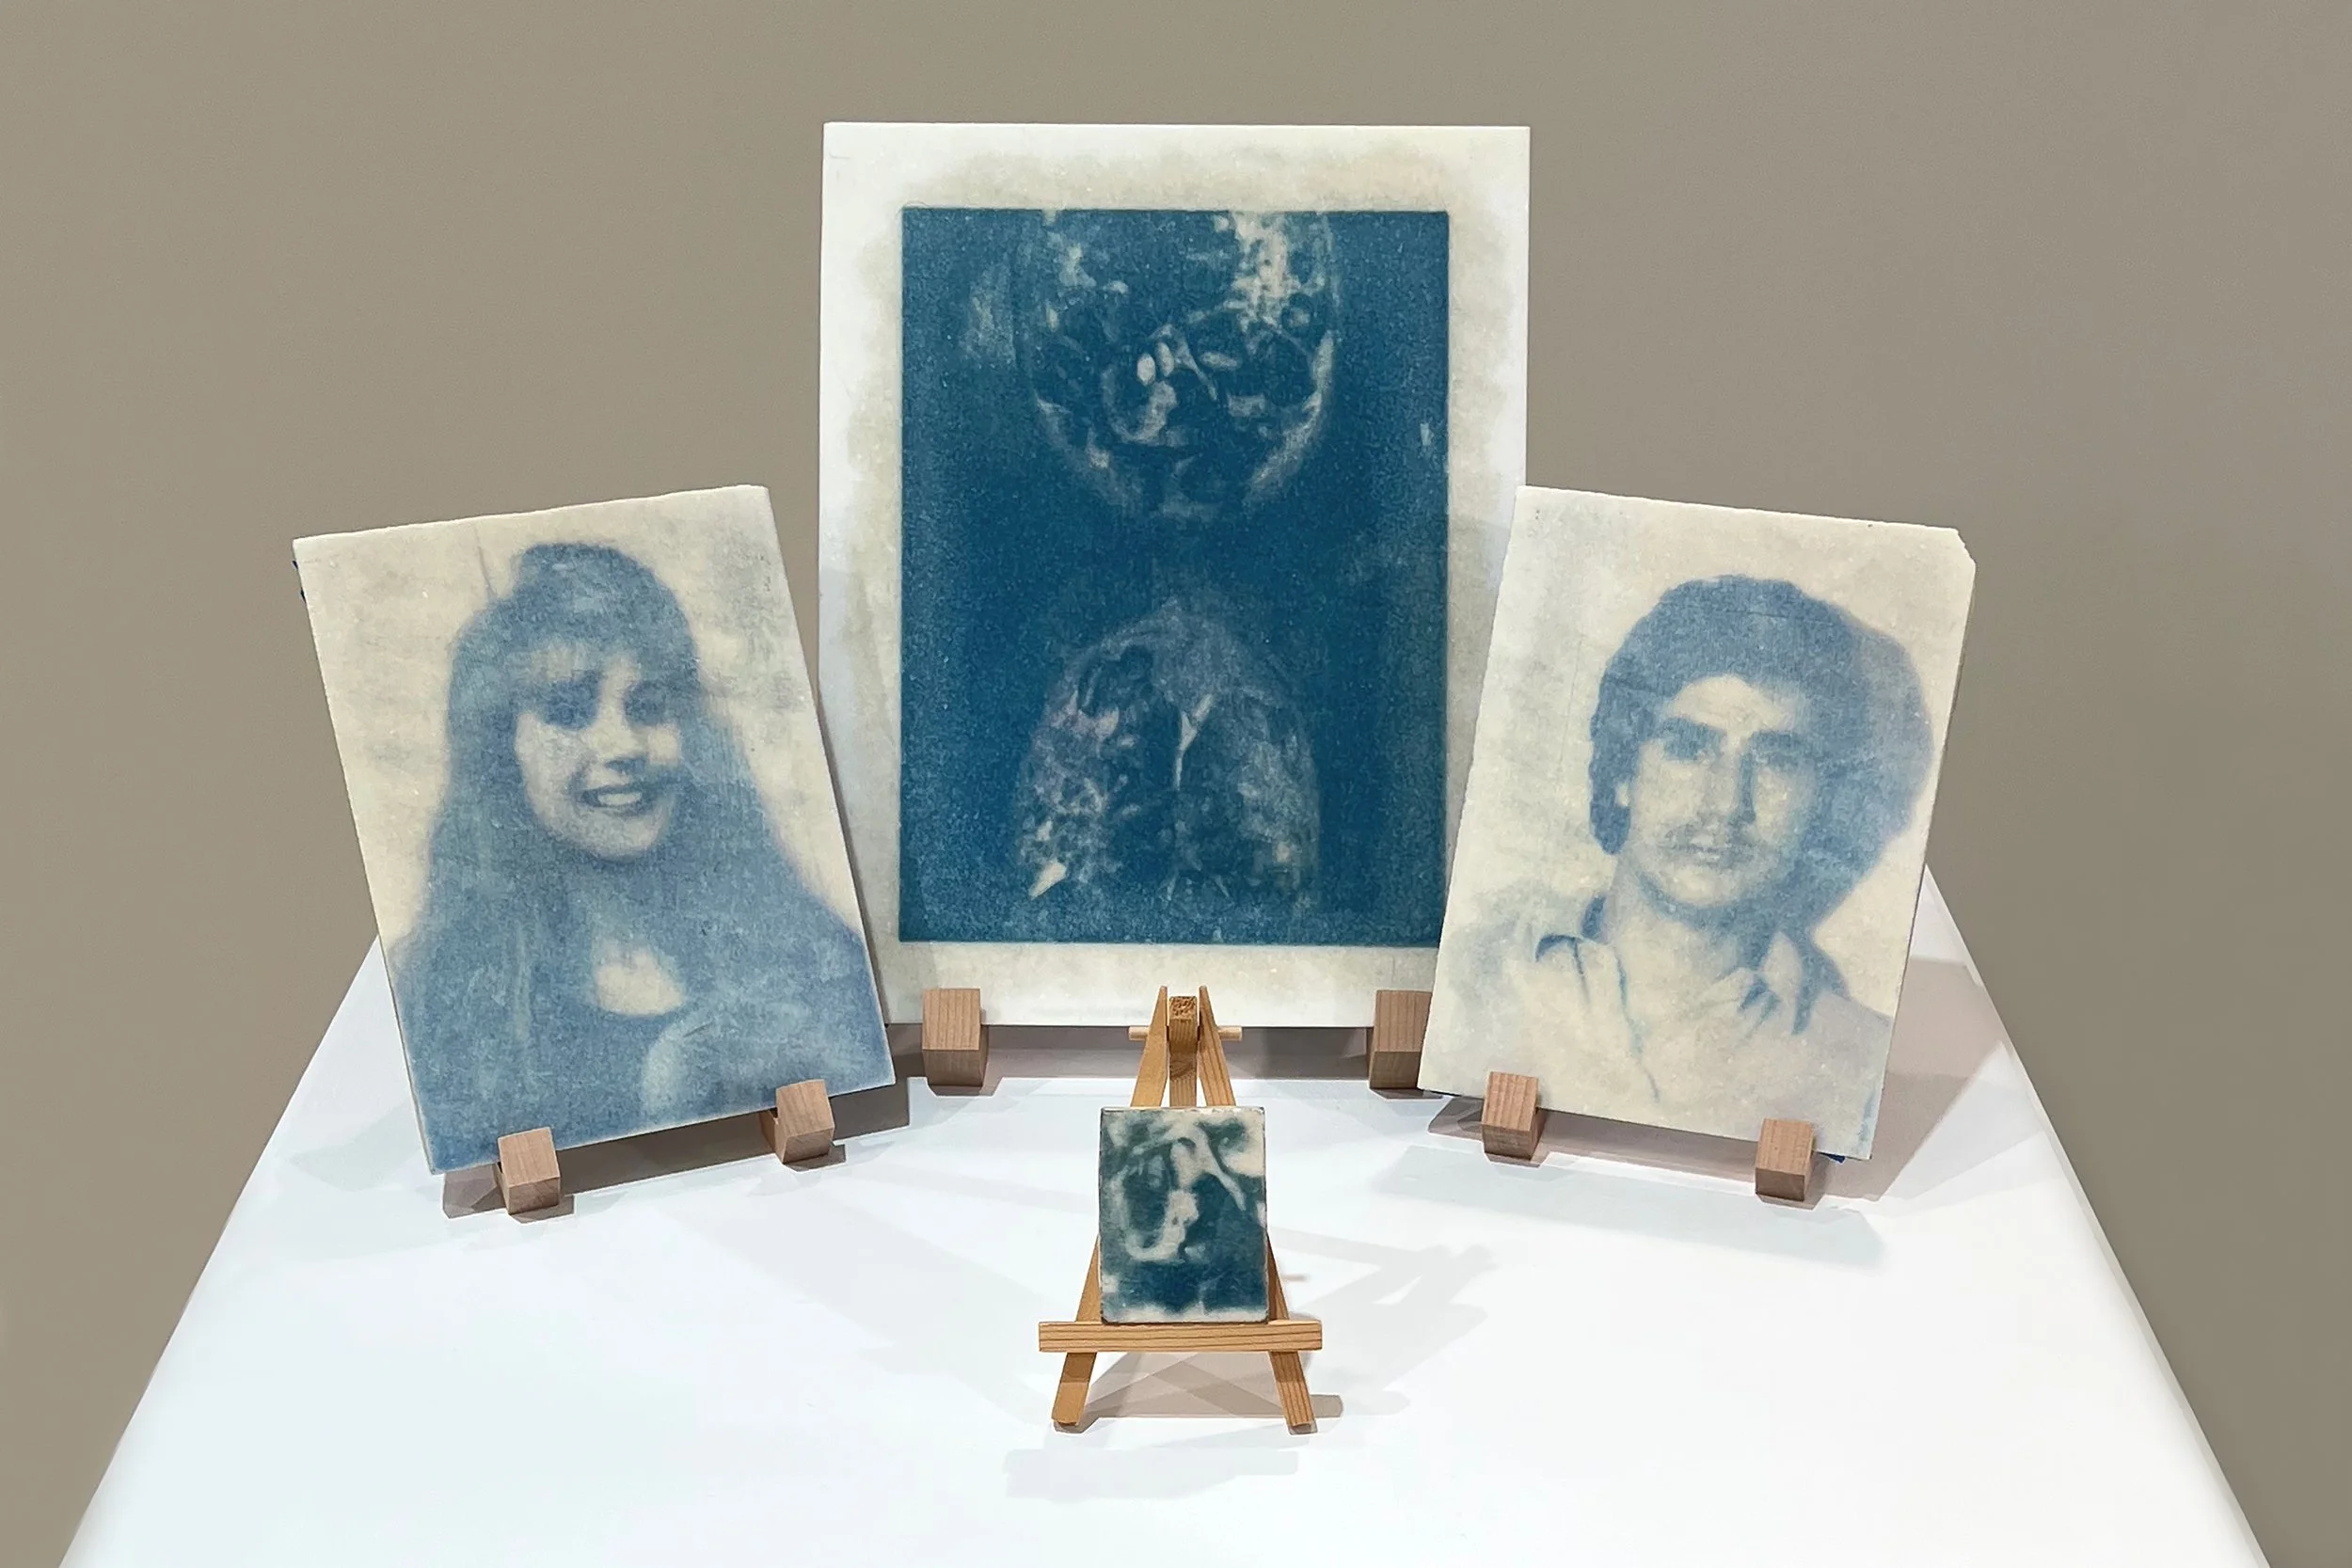
Once it was revealed that the marble may not always stain consistently, it was up to luck when it came time to cyanotyping my larger final pieces of marble. I started out with the two smaller portraits, which to my surprise, the images came out clear enough to depict with a few imperfections, unlike many of my test strips which were blurry blobs of blue.
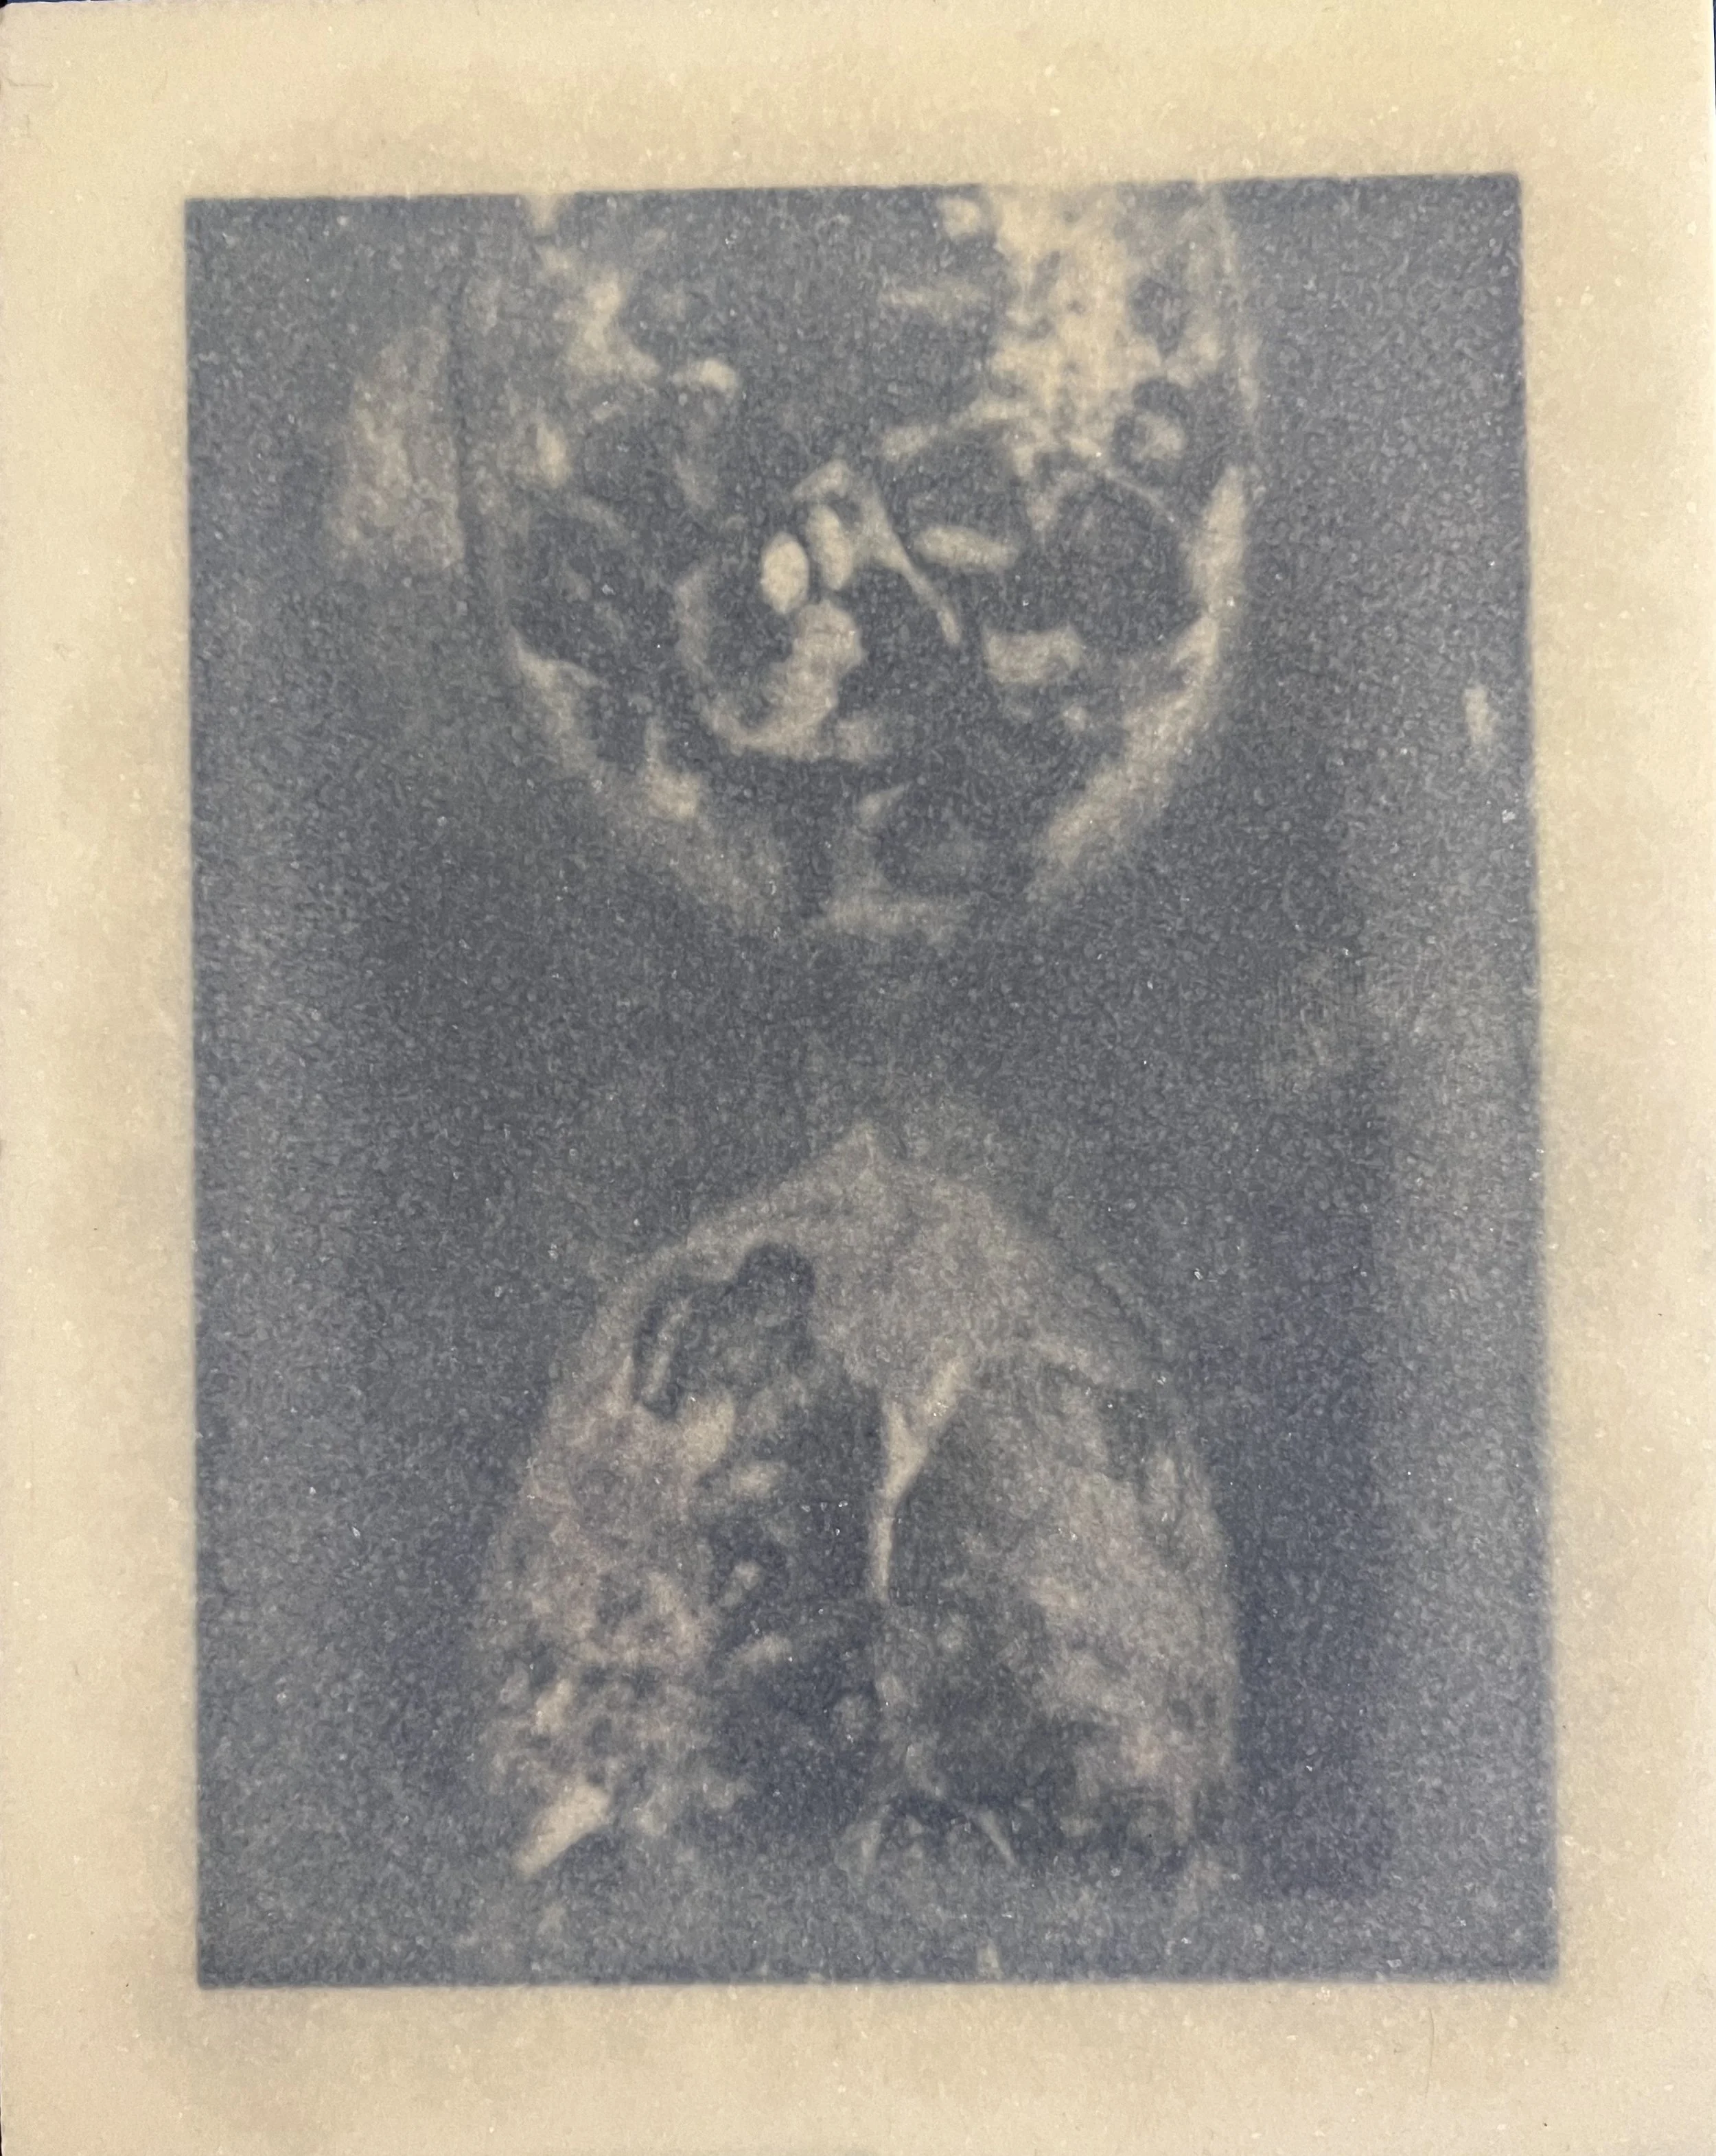
An Unpredictable Outcome

On my last piece of large marble the image did not transfer at all and the slab turned blue! While trying not to panic that my project got ruined, I struggled to think of an idea to salvage my material. After thinking about and processing the techniques I used on the test strips, I attempted to sand the “image” off and try again. I could not sand all of the blue off but I thought I might as well finish the idea since I started it. I then wiped the dust off the surface with a dry paper towel and re-coated the marble. This made the marble’s emulsion dry time take much longer. After exposing the image for a second time, once again to my surprise, the image started to transfer but only partially. The bottom pomegranate was only slightly visible and you could barely see the figures in the one above, but it was overall too faint and blurry to tell. In attempt to wash all the cyanotype chemicals out of the marble, I wound up keeping it in the wash with the water on, to keep it agitated for about 4 hours. Later when I went to turn it off and have the piece just sit in the water within its container, I got anotheer surprise! More of the image appeared and was depictable than it was before!

The Fun of Experimenting